41. Job Portal Testing
Opkey’s Job Portal helps you to Execute Jobs with Tags which simplifies your task in selecting the Test Cases for particular applications easily and executing the run.
Based on Tags, you can now add the respective Test Cases without having to spend long hours looking out for the required Test Cases for specific applications to add to the Suite or Job. Opkey’s Job Portal simplifies your task in selecting the Test Cases basis the tags allocated to them, which lets you identify the required Test Cases as per your requirement.
On launching the Job Portal, you will be asked to choose a portal mode, i.e Opkey Web or Opkey Surge.
Job Portal lets you view only the tagged Test Cases to choose from.
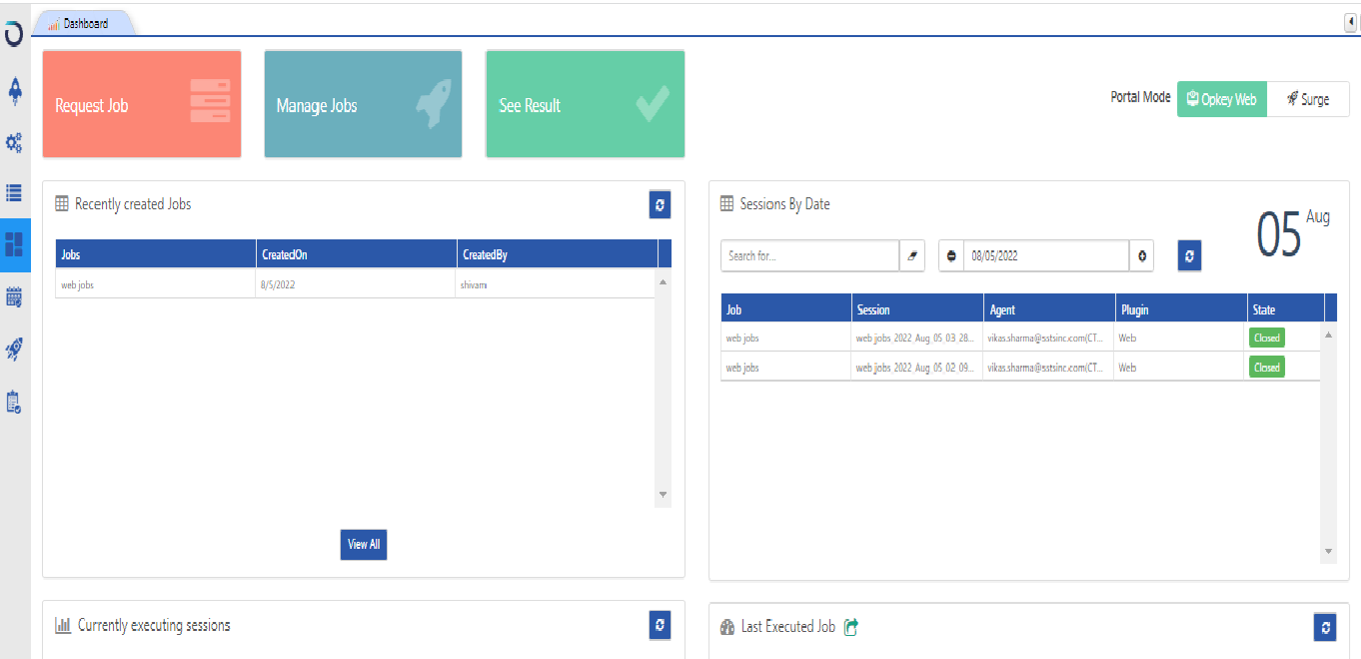
The Dashboard of the Job Portal consists of
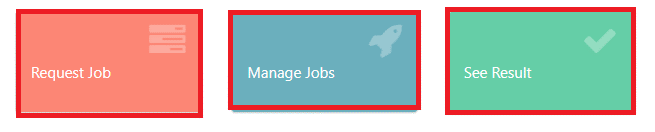
Request Job – To create or add existing Job.
Manage Job – It lets you manage the Jobs of Opkey Web or Opkey Surge.
See Results – It lets you view the Results of the Executed Jobs.
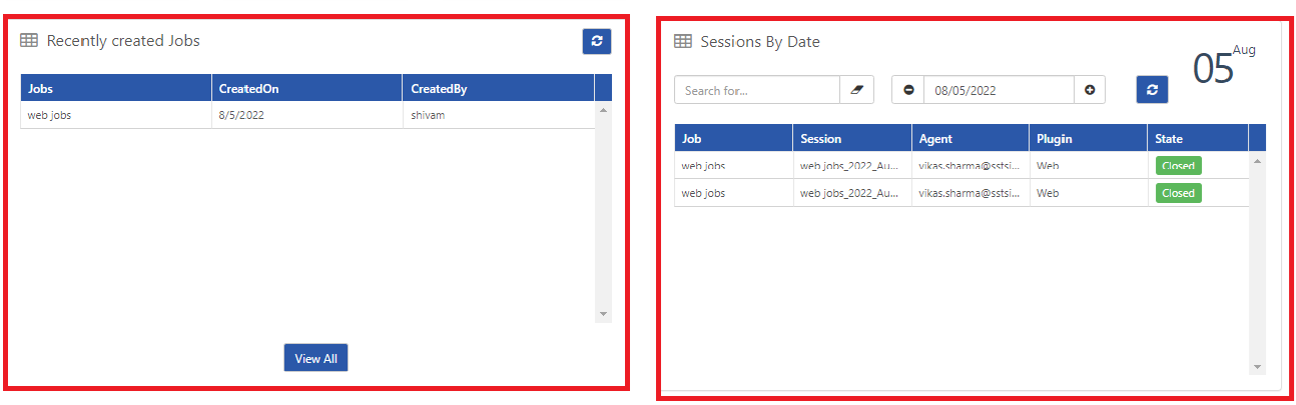
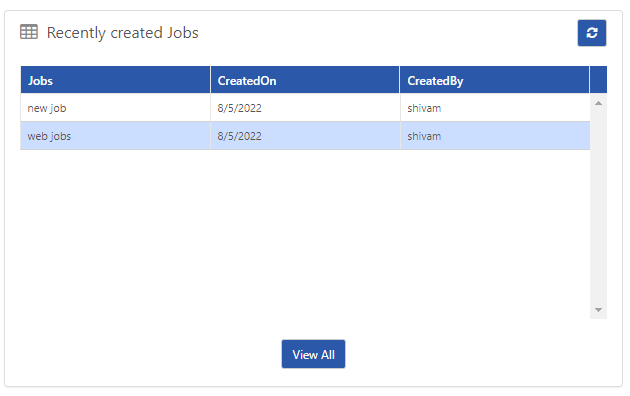
The Recently Created Job section lets you view the Jobs which have been created recently.
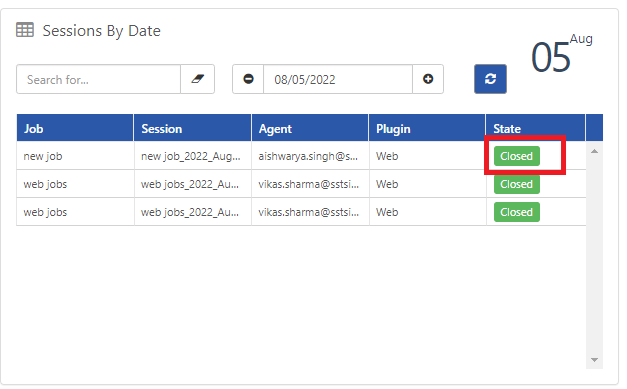
The Session by Date section displays the Executed sessions of Jobs by date.
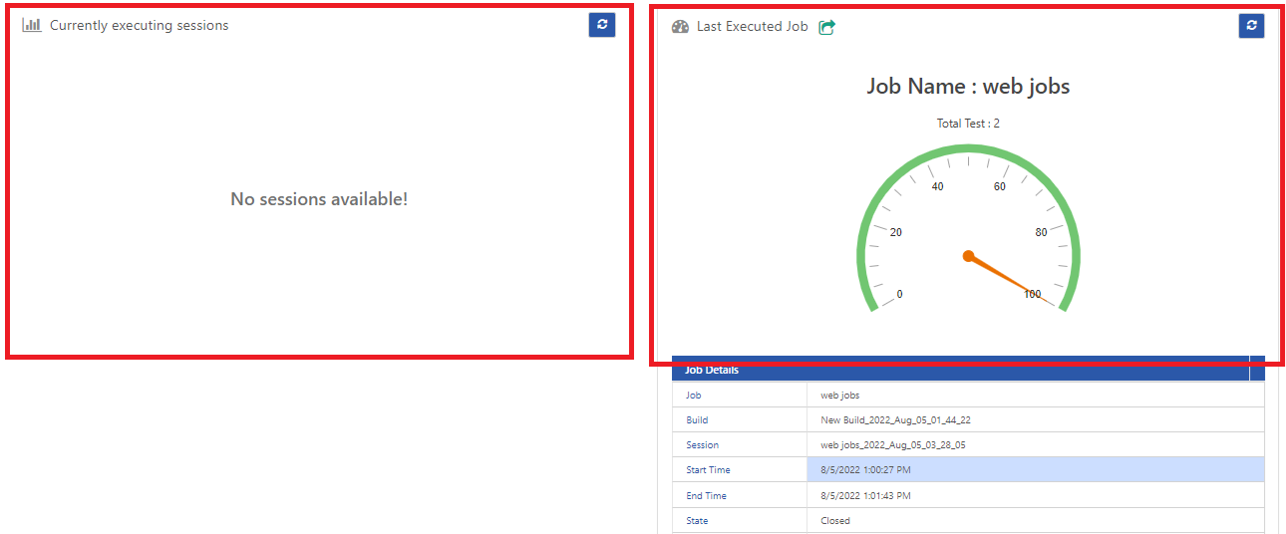
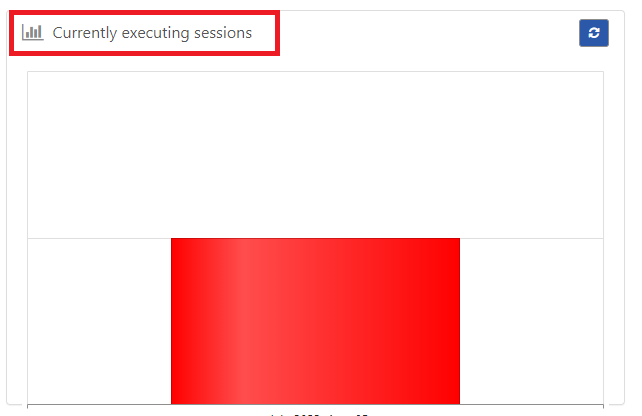
The Currently Executing Session will display the running Executions of Jobs, the number of passed, failed and running.
The Last Executed Job section will display the latest executed Job.
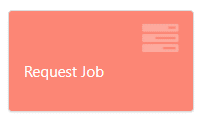
The Request Job Tab will take you to a new window, where you can perform tasks like:
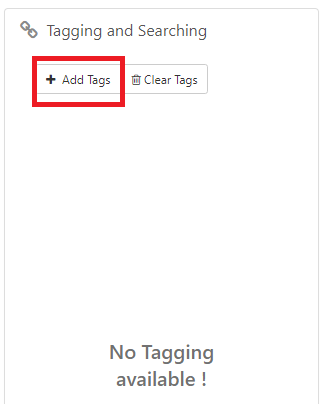
Add Tags – This will allow you to add tags of Opkey Web or Opkey Surge as per the portal requirement.
You can search for the Test Cases with the given Tags and click on Submit.
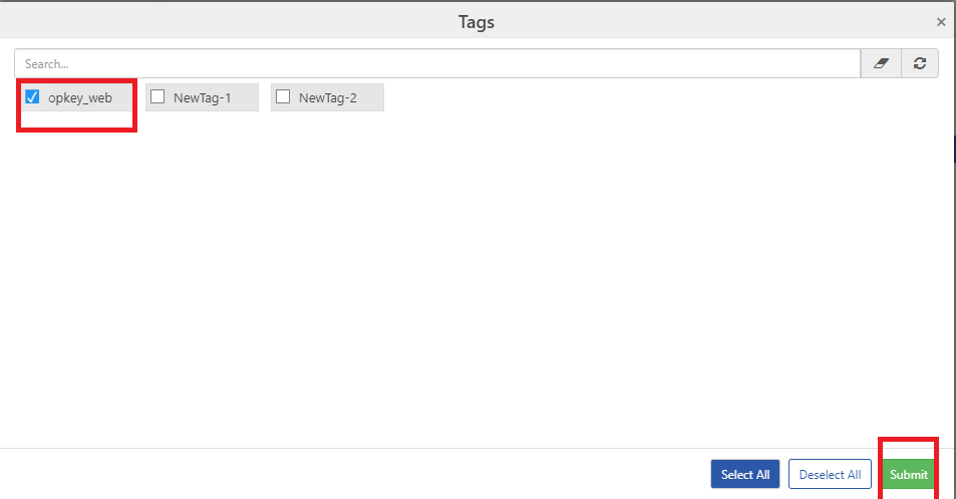
Here you can select multiple added tags which will display their multiple added values.
Once the multiple added tags are selected, you’ll be able to view the Test Cases of the particular project.

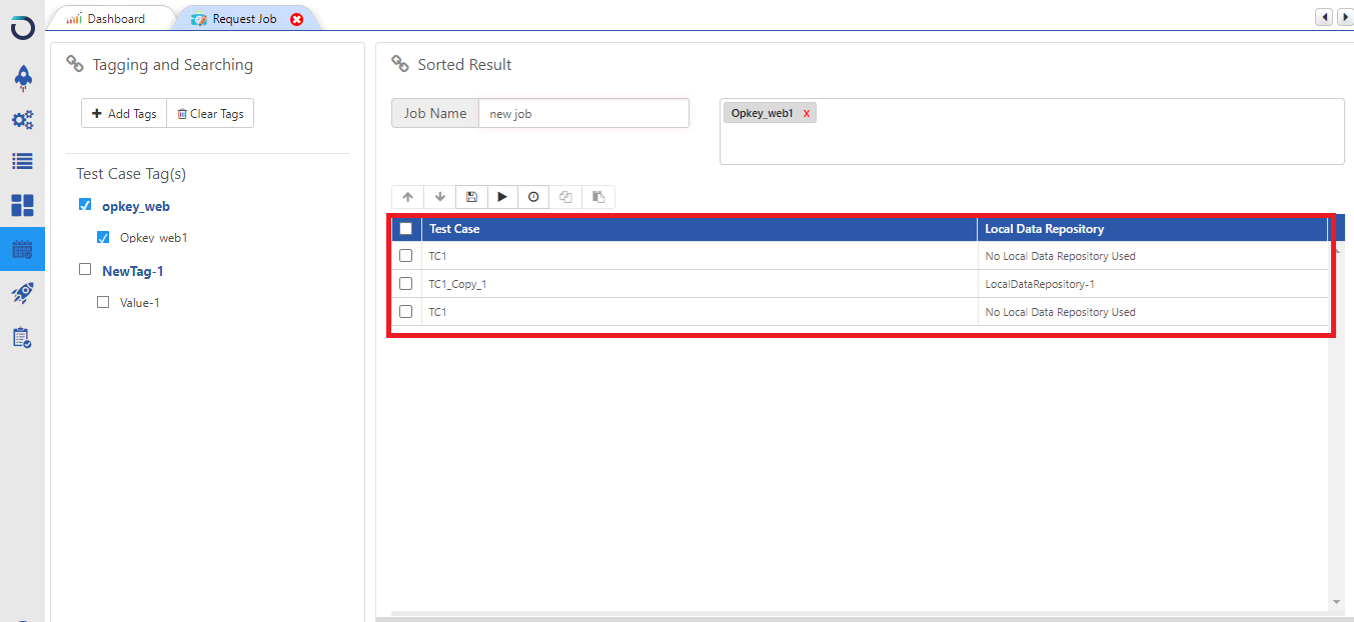
You can search for Test Cases with the Job Name and click on the Save button.
You can now view the modified Test Case on the Recently Created Jobs section present on the dashboard.
You can now view the modified Test Cases on the Manage Jobs tab.
The buttons under the Actions Header provide you with four Action icons of
Edit – This will allow you to Edit the Jobs according to your requirement.
Execute – This will allow you to Execute the Job that has been modified.
Schedule – This will allow you to Schedule the Job.
Delete – This will allow you to Delete the Job.
The Search By Date option lets you select the Test Cases based on the creation date.
On selecting the Test Case, you will also be able to see the icons of
Sync – This will allow you to Sync the Test Cases.
Export – This will allow you to Export the Test Cases.

On selecting the Test Case to be executed by selecting the Execute Button, you will be able to view the Opkey Execution Agent Window, where you’ll have to fill in the details of the session and click on the Finish button.

While the session is getting executed, you’ll be able to view its state in the section of Sessions By Date.
It will be Scheduled, Running, and Closed according to the state in which executions are proceeding.


The Currently Executing Sessions will display the Results of the Execution in terms of Passed, Failed, Incomplete, in Inprogress, and Not Executed Sessions.

Once the execution of the Session gets completed, you’ll be able to view the State as Closed.
The section Last Executed Job will display the Details of the Session. It will have
Job Name
Build
Session
Start Time
End Time
State
Agent
Plugin

The Job Scheduler icon will allow you to schedule the Jobs as per your requirement.

The Jobs can be scheduled by selecting the required time and date when required.

The Jobs will have to be selected and details to be filled into the schedule accordingly.
